
How to Take a Screenshot on a MacBook
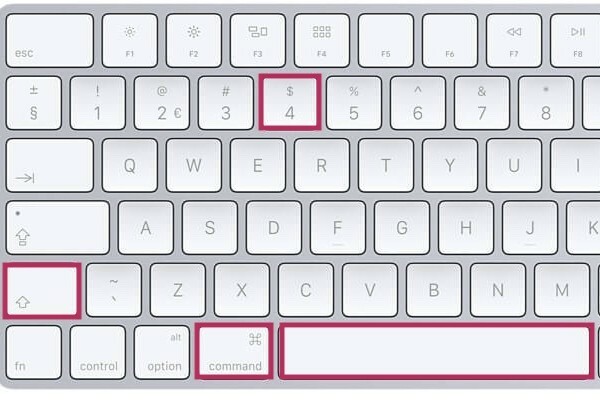
Which keys do you use for a screenshot on a MacBook?
There are several ways to take a screenshot on a MacBook, depending on what you want to capture. Use:
- Shift + Command (⌘) + 3: Takes a screenshot of the entire screen.
- Shift + Command (⌘) + 4: Selects a specific part of the screen.
- Shift + Command (⌘) + 4 > Spacebar: Takes a screenshot of a specific window.
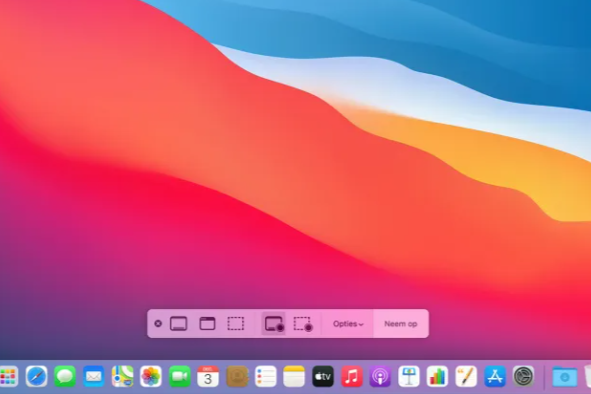
- Shift + Command (⌘) + 5: Opens the screenshot menu for extra options, such as screen recording or custom settings.
After taking a screenshot, a thumbnail appears in the corner of your screen. You can click on it to edit or save it directly.
Refurbished MacBooks
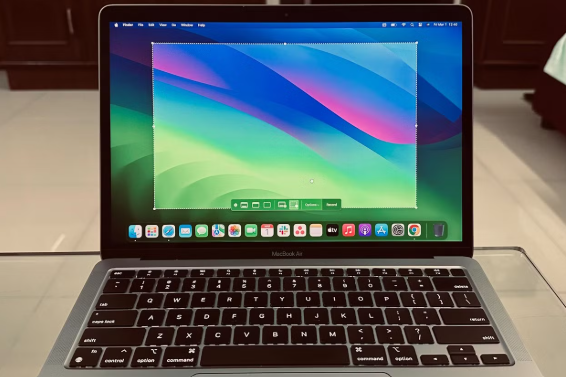
Screenshots are saved by default to your Desktop with the filename Screenshot [date] at [time].png. You can adjust the save location by:
- Pressing Shift + Command (⌘) + 5.
- Clicking on Options.
- Choosing a new save location, such as 'Documents' or a specific folder.
You can also quickly find screenshots by searching for 'Screenshot' in Finder.
How do you edit a screenshot on your MacBook?
After taking a screenshot, a thumbnail appears in the corner of your screen. Click on it to open the screenshot directly in the built-in Preview app. In this app you can:
- Crop: Remove unwanted parts of the screenshot.
- Drawing tools: Add lines, arrows and shapes.
- Annotate: Add text or comments to the image.
After editing, click Done to save your changes.
Apple Advice


Refurbished MacBooks
ReMarkt's Keuze
Black Friday 20% Discount
Condition: Matomas naudotas
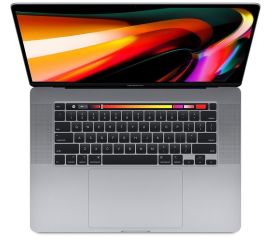
Apple MacBook Pro (15 inch, 2018) - 2-Year Warranty
Intel Core i7 - 15 inch - 16GB RAM - 256GB SSD - - Spacegrijs
Old Price $753.00 $602.40 $497.85
Black Friday 20% Discount
Condition: Matomi pažeidimai
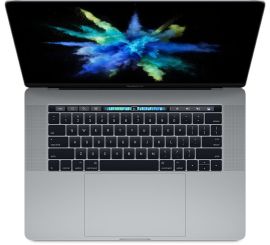
Apple MacBook Pro (15 inch, 2017) - 2-Year Warranty
Intel Core i7 - 15 inch - 16GB RAM - 512GB SSD - - Spacegrijs
Old Price $624.07 $499.26 $412.61
ReMarkt's Keuze
Black Friday 20% Discount
Condition: Matomas naudotas
Apple MacBook Pro (15 inch, 2017) - 2-Year Warranty
Intel Core i7 - 15 inch - 16GB RAM - 512GB SSD - - Spacegrijs
Old Price $706.37 $565.10 $467.02
ReMarkt's Keuze
Black Friday 20% Discount
Condition: Matomi pažeidimai
Apple MacBook Pro (15 inch, 2017) - 2-Year Warranty
Intel Core i7 - 15 inch - 16GB RAM - 256GB SSD - - Spacegrijs
Old Price $574.70 $459.76 $379.97
ReMarkt's Keuze
Black Friday 20% Discount
Condition: Matomas naudotas
Apple MacBook Pro (15 inch, 2017) - 2-Year Warranty
Intel Core i7 - 15 inch - 16GB RAM - 256GB SSD - - Spacegrijs
Old Price $656.99 $525.59 $434.37
Black Friday 20% Discount
Condition: Matomas naudotas
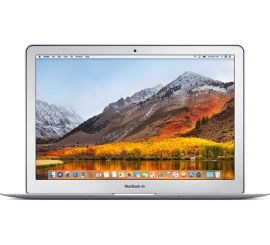
Apple MacBook Air (13 inch, 2017) - 2-Year Warranty
Intel Core i5 - 13 inch - 128GB SSD - Zilver
Old Price $355.24 $284.19 $234.87